

Main Dishes

Caprese Bulgur with Chicken Sausage
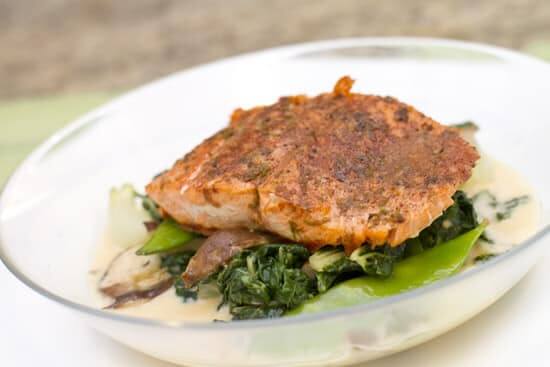
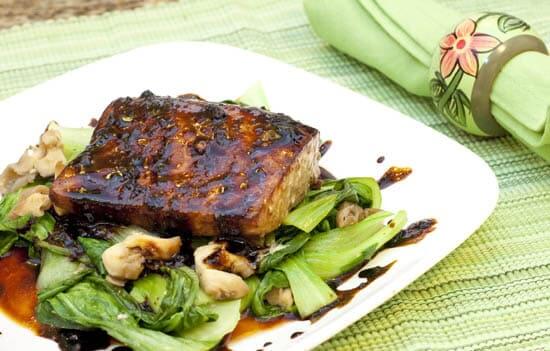
Salmon over Coconut Broth with Baby Bok Choy, Snow Peas, and Mushrooms

CABLT (aka Chicken, Avocado, Bacon, Lettuce, and Tomato) Sandwiches

Blackened Chicken Breasts with Gorgonzola Sauce
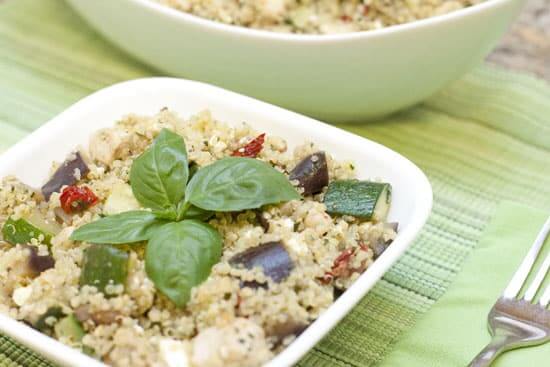
Basil Quinoa with Chicken, Eggplant, Zucchini, and Sun Dried Tomatoes

White Pizza with Sausage, Pancetta, Leeks, and Parmesan
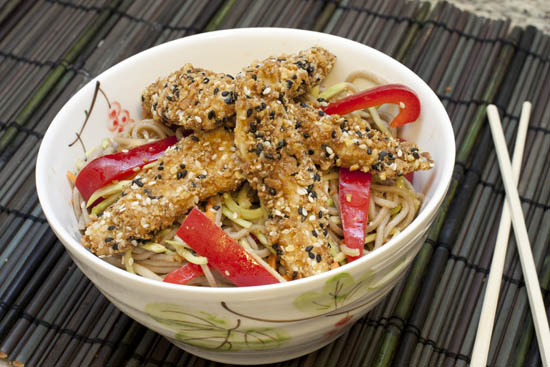
Spicy Soba Noodles with Sesame Stick Coated Chicken and Broccoli Slaw

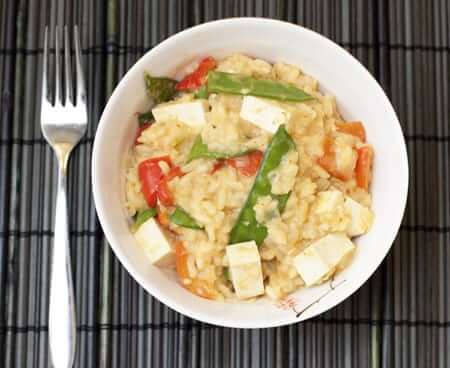
Spring Goat Cheese Risotto
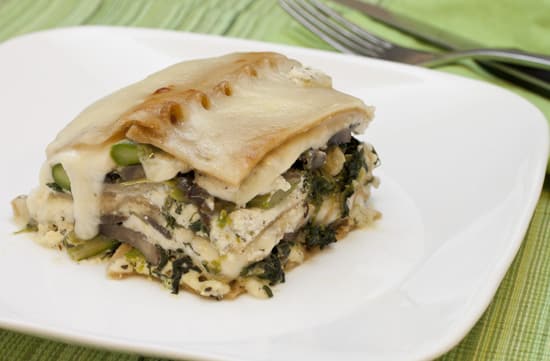
Asparagus, Mushroom, Spinach, and Chicken Lasagna with Goat Cheese Sauce

Mediterranean Portobello Mushroom and Eggplant Stacks

Bacon and Mushroom Stuffed Chicken Breasts over Sweet Potato Hash
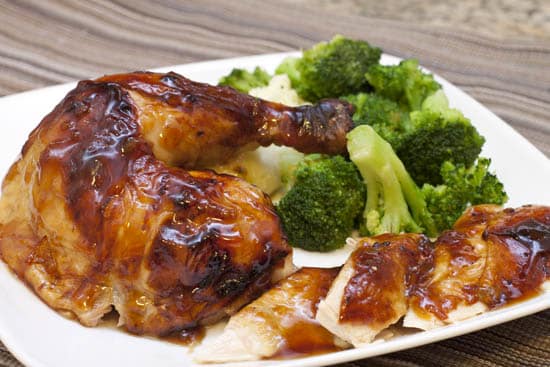
Orange Roasted Chicken
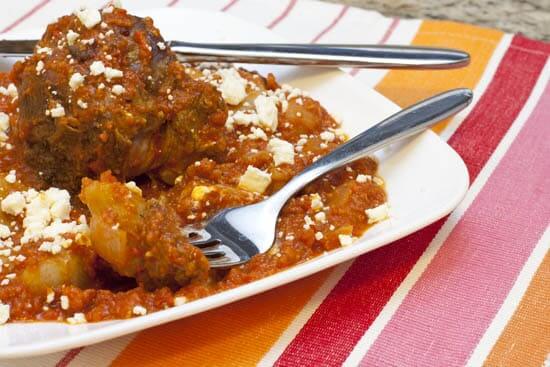
Mediterranean Lamb with Gnocchi

Thai Burgers with Plum Sauce and Spicy Slaw

Soba Noodles with Eggplant, Snow Peas, and Tofu

Cheesy Caramelized Onion Tart with a Mashed Potato Crust
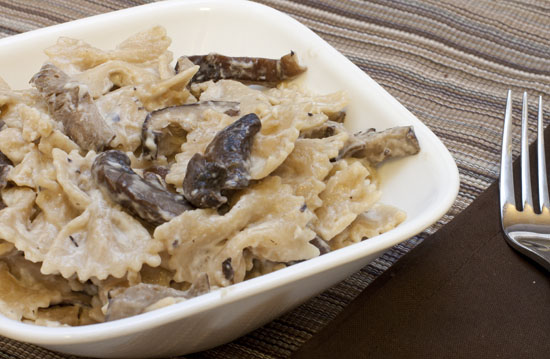
Farfalle with Mushrooms and Goat Cheese Sauce
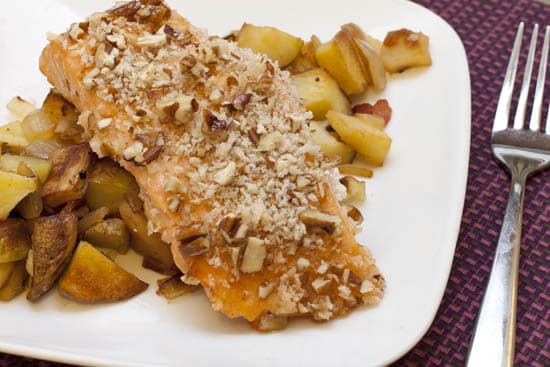
Maple Pecan Salmon over Roasted Potato, Apple, and Bacon Hash
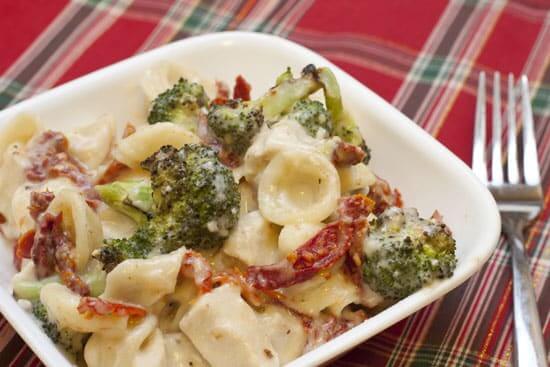
Christmas Mac & Cheese (aka Three Cheese Mac & Cheese with Roasted Broccoli and Sun Dried Tomatoes)

Jerk Chicken and Sweet Potato Pot Pies

French Onion Mac & Cheese

Indian Spiced Chicken and Potato Cakes
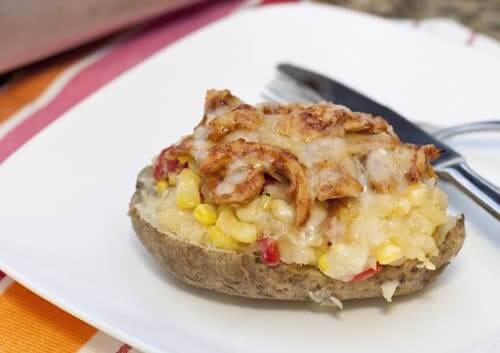
BBQ Chicken and Cheddar Baked Potatoes with Corn and Roasted Red Peppers

Pesto Goat Cheese Pizza

Summer Veggie and Chicken Lasagna with Goat Cheese Sauce
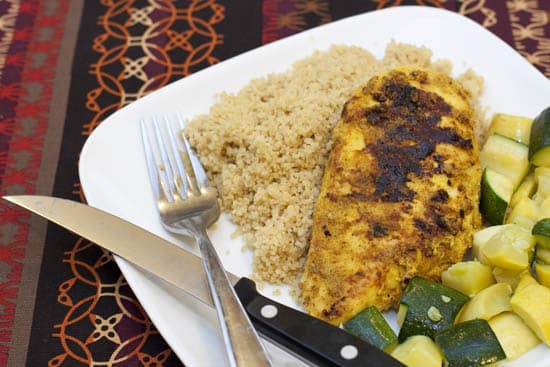
Moroccan Spiced Chicken
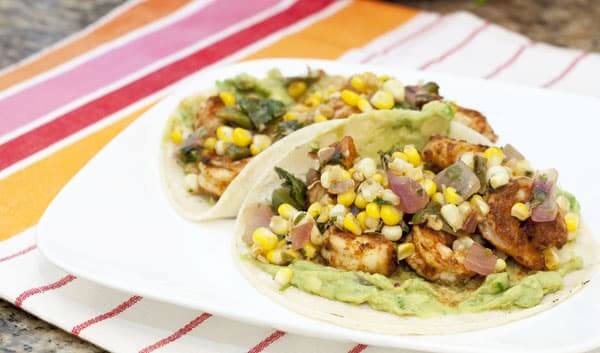
Shrimp Tacos with Corn Salsa
Yuzu Miso Mahi Mahi

Blackened Chicken Breasts Stuffed with Blue Cheese and Bacon
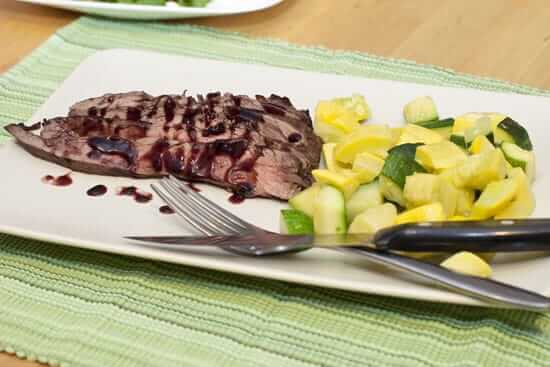
Flank Steak with Red Wine and Tamarind Sauce

Caramelized Pineapple Pulled Pork Flatbreads

Sweet Chili Apricot Shrimp Skewers over Israeli Couscous

Gnocchi with Pancetta, Mushrooms, and Gruyere

Spinach, Bacon, and Blue Cheese Stuffed Pecan Crusted Chicken Breasts
Red Curry Risotto
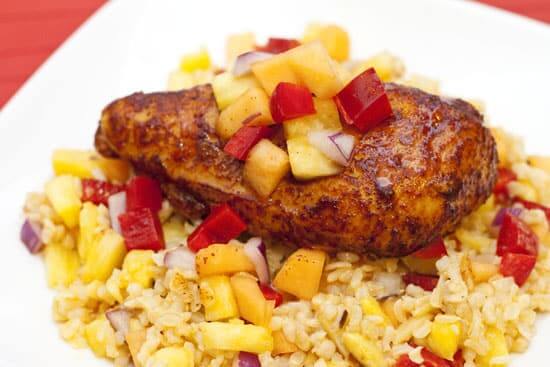
Ancho Honey Chicken over Tropical Rice
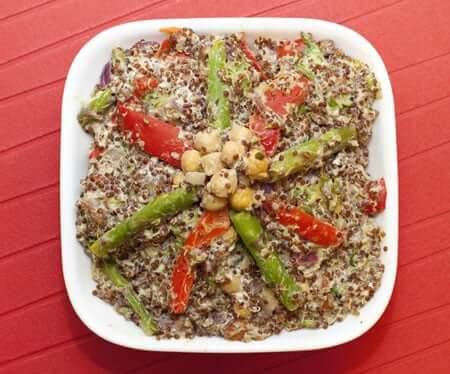
Quinoa with Chickpeas, Asparagus, and Lemon Goat Cheese Dressing
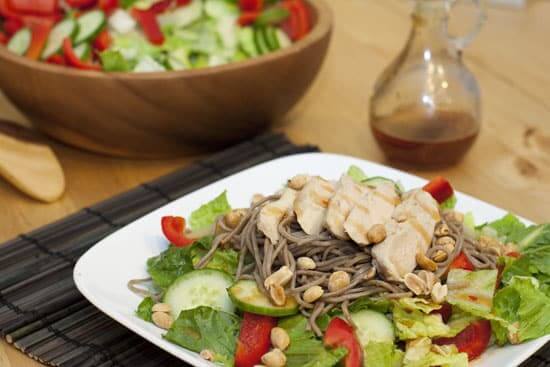
Chicken and Soba Romaine Salad with Thai Vinaigrette

Crab Topped Mahi Mahi with a Lemon Sauce over Brussels Sprouts

Avocado Ranch Israeli Couscous Salad

Sesame Chicken with Soba Noodles
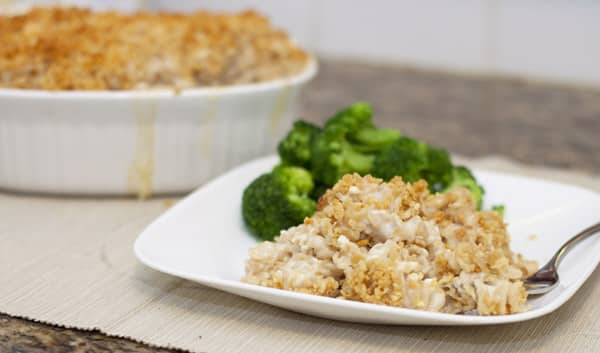
Cheddar, Feta, and Pecorino Romano Mac & Cheese

Chicken Parm Eggplant Stacks

Cajun Shrimp Pasta
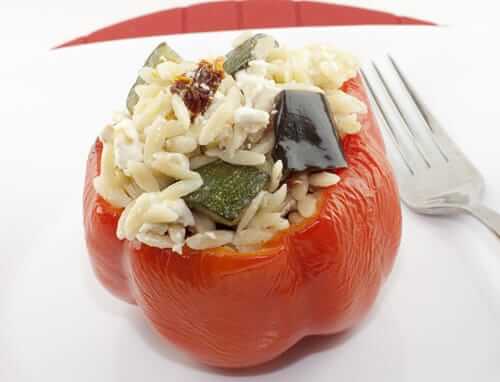
Eggplant and Orzo Stuffed Red Peppers

Chicken Skewers over Citrus Mashed Potatoes

Pecan and Coconut Crusted Tilapia over Tropical Rice

Thai Shrimp Green Curry
