
Desserts
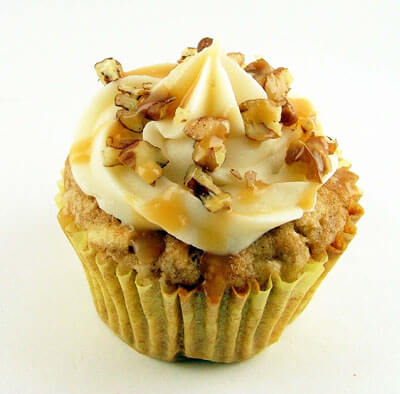
Spiced Apple Cupcakes

Pumpkin Pie Truffles

M&M Cashew Pretzel Bars
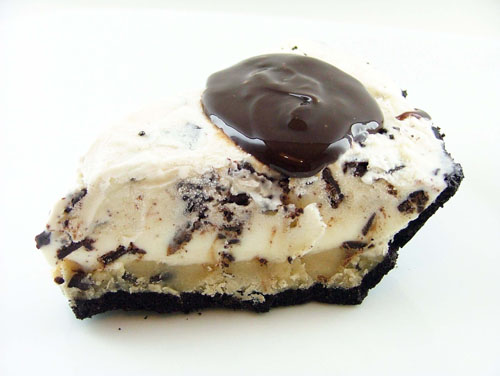
Chocolate Chip Cookie Dough Ice Cream Pie

Mini Sweet Potato Cheesecakes
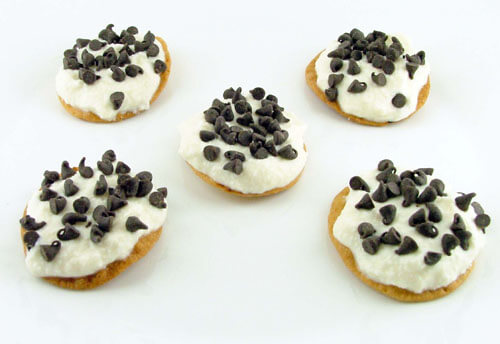
Cannoli Chips

Pineapple Ice Cream Sundaes

Honey Sesame Cashew Brittle
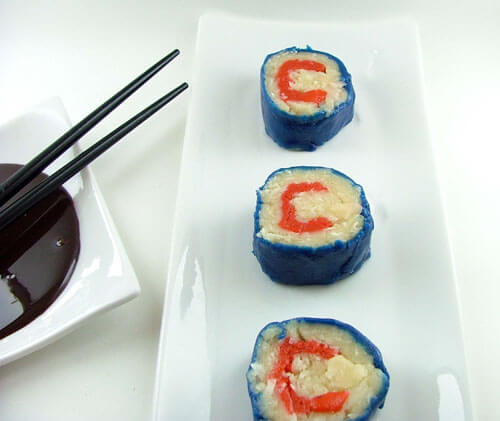
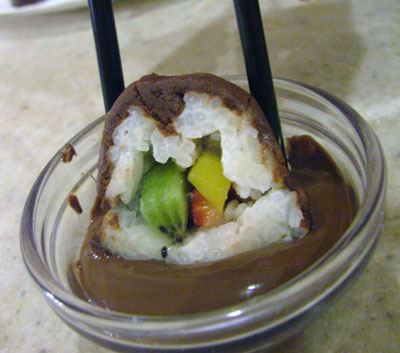
Chicago Cubs Dessert Sushi
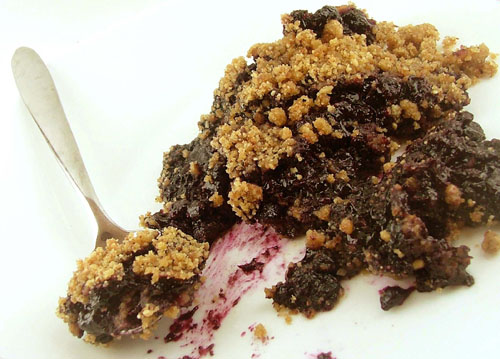
Pomegranate Blueberry Crumble

Pistachio Mint Chocolate Chip Bar Cookies

Coconut & Lime Cheesecake Dessert Sushi

Green Monster Cookies

Orange Cardamom Chocolate Bars
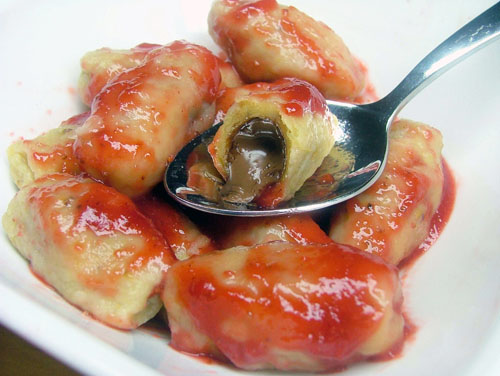
Chocolate-Filled Plantain Dessert Gnocchi
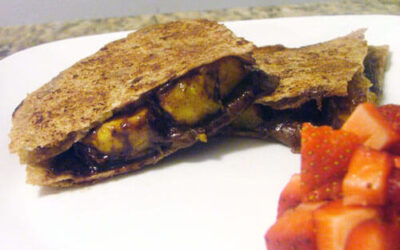
Caramelized Plantain Dessert Quesadillas with Nutella
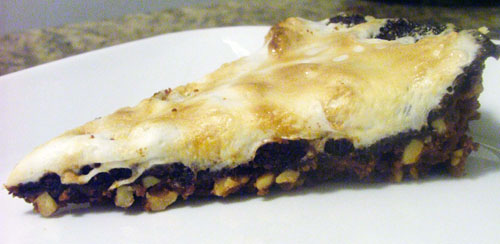
Nutella S’more Tart