For a couple of years, I was in the habit of buying pre-washed salad mixes. You know, the kind that come in a bag or plastic box. This lead to the donation of our OXO salad spinner to the Good Will, because it was just sitting there collecting dust and taking up...
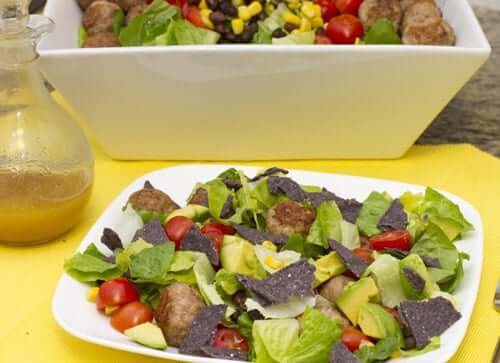
Southwestern Mini Meatball Salad
read more