Main Dishes
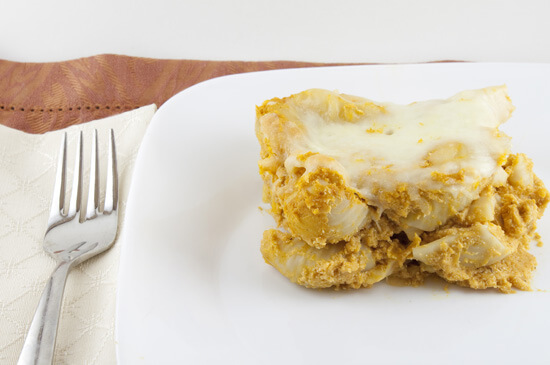
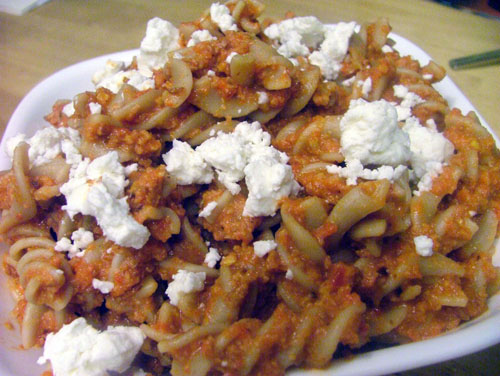
Pumpkin Pasta Bake
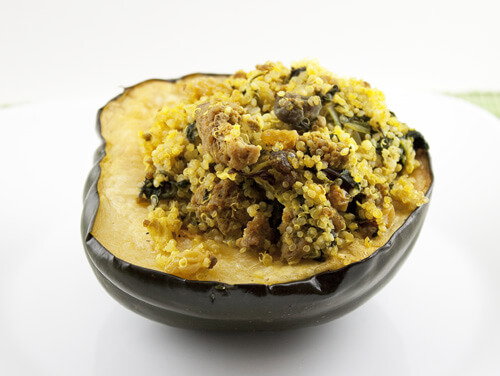
Moroccan Stuffed Acorn Squash

Indian Spiced Salmon with Pineapple Chutney
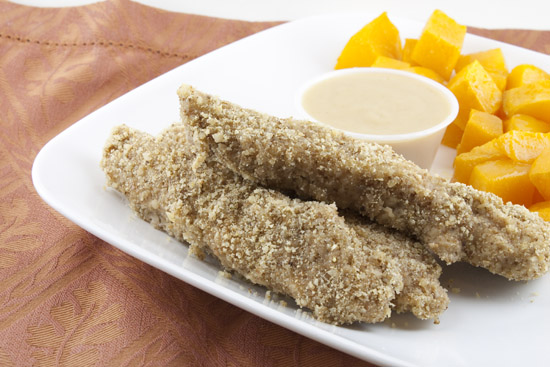
Walnut Chicken Strips with Rosemary Cider Sauce
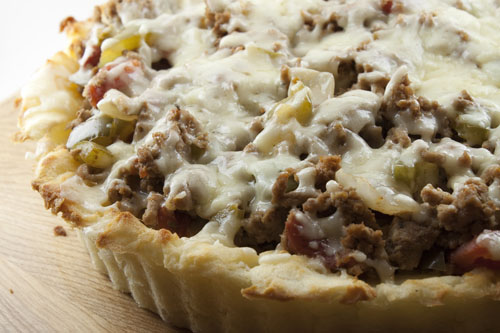
Fiesta Potato Pie

Mushroom Walnut Pesto Pasta

Mediterranean Couscous
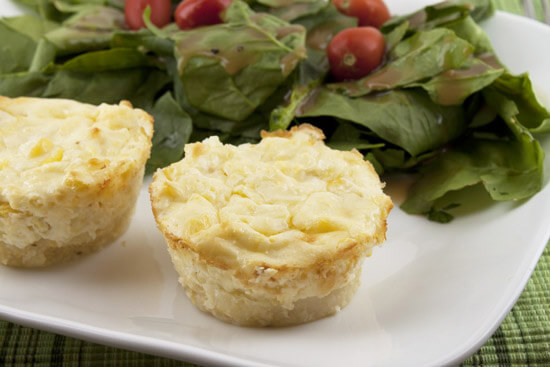
Corn and Cheddar Polenta Cheesecakes
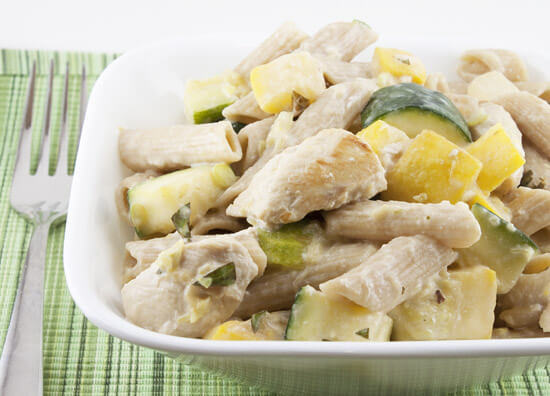
Creamy Lemon Summer Squash Pasta

Spinach Sauce Pasta with Shrimp

Walnut Crusted Pineapple Chicken

Mediterranean Eggplant Stacks

Mediterranean Chicken Sausage and Chickpea Skillet

Roasted Rack of Lamb with a Fennel, Artichoke, and Chickpea Mash

Southwestern Pepper Jack Mac & Cheese
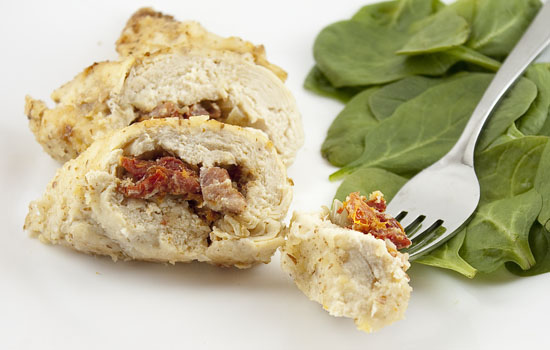
Pancetta and Sun-Dried Tomato Stuffed Chicken Breasts

Sausage and Quinoa Stuffed Acorn Squash

Champagne Salmon with Swiss Chard Quinoa
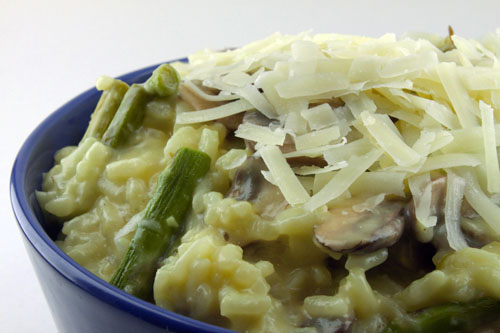
Gruyere Risotto with Asparagus and Mushrooms
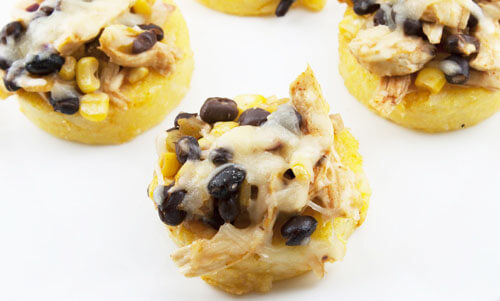
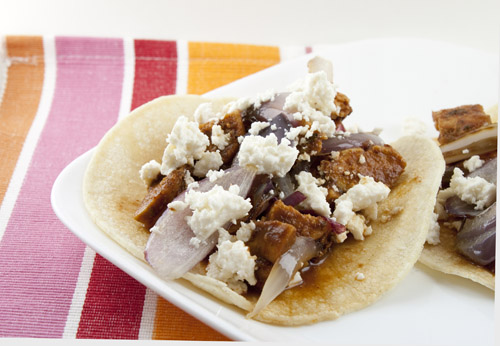
Mexican Polenta Rounds

Pear Glazed Salmon with a Potato, Parsnip, and Bacon Hash

Chicken Salsa Quesadillas

Roasted Potatoes and Sausages with Green Beans and Mushrooms
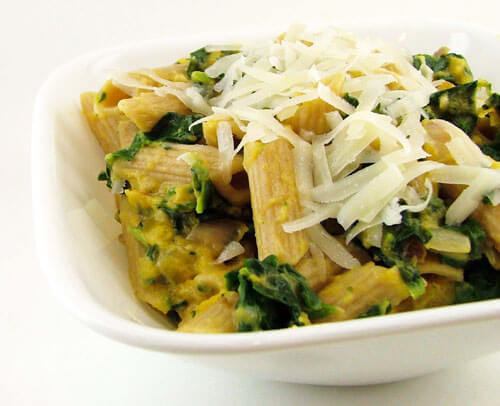
Roasted Butternut Squash and Spinach Penne Pasta

Truly Outrageous Baked Sweet Potatoes

Caramelized Shallot and Crispy Sage Macaroni and Cheese

Halloween Pumpkin Quesadillas
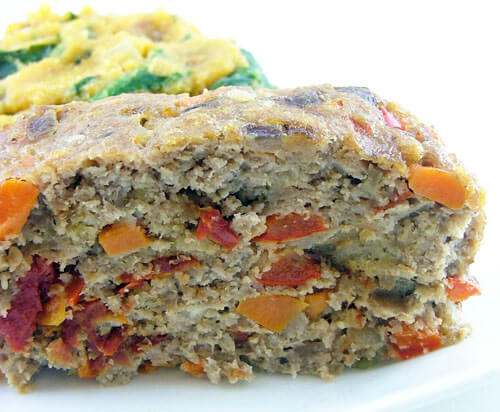
Sun Dried Tomato Turkey Meatloaf
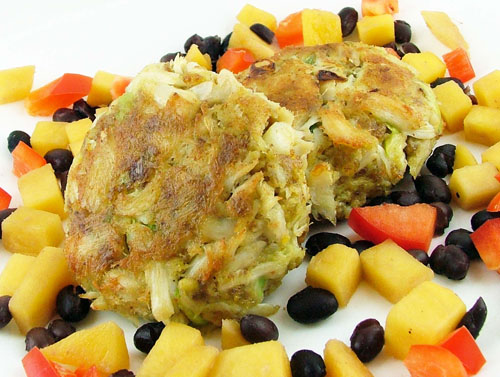
Avocado Crab Cakes with Crushed Plantain Chips

Plantain Gnocchi/Koldunai Stuffed with Cheddar Cheese

Cumin Rubbed Salmon with a Fresh Corn and Red Pepper Sauce
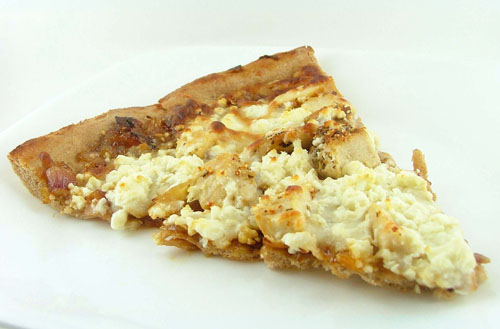
Caramelized Shallot Apricot Chicken Pizza
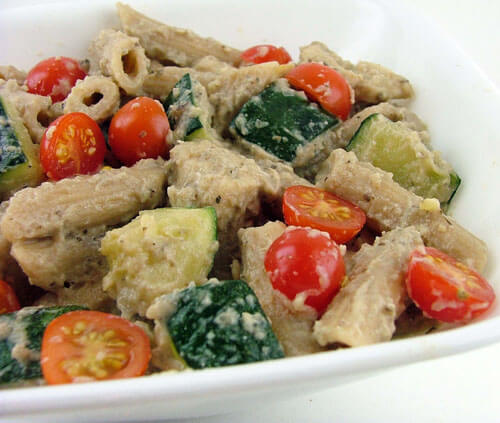
Summer Veggie Pasta with an Eggplant and Ricotta Sauce
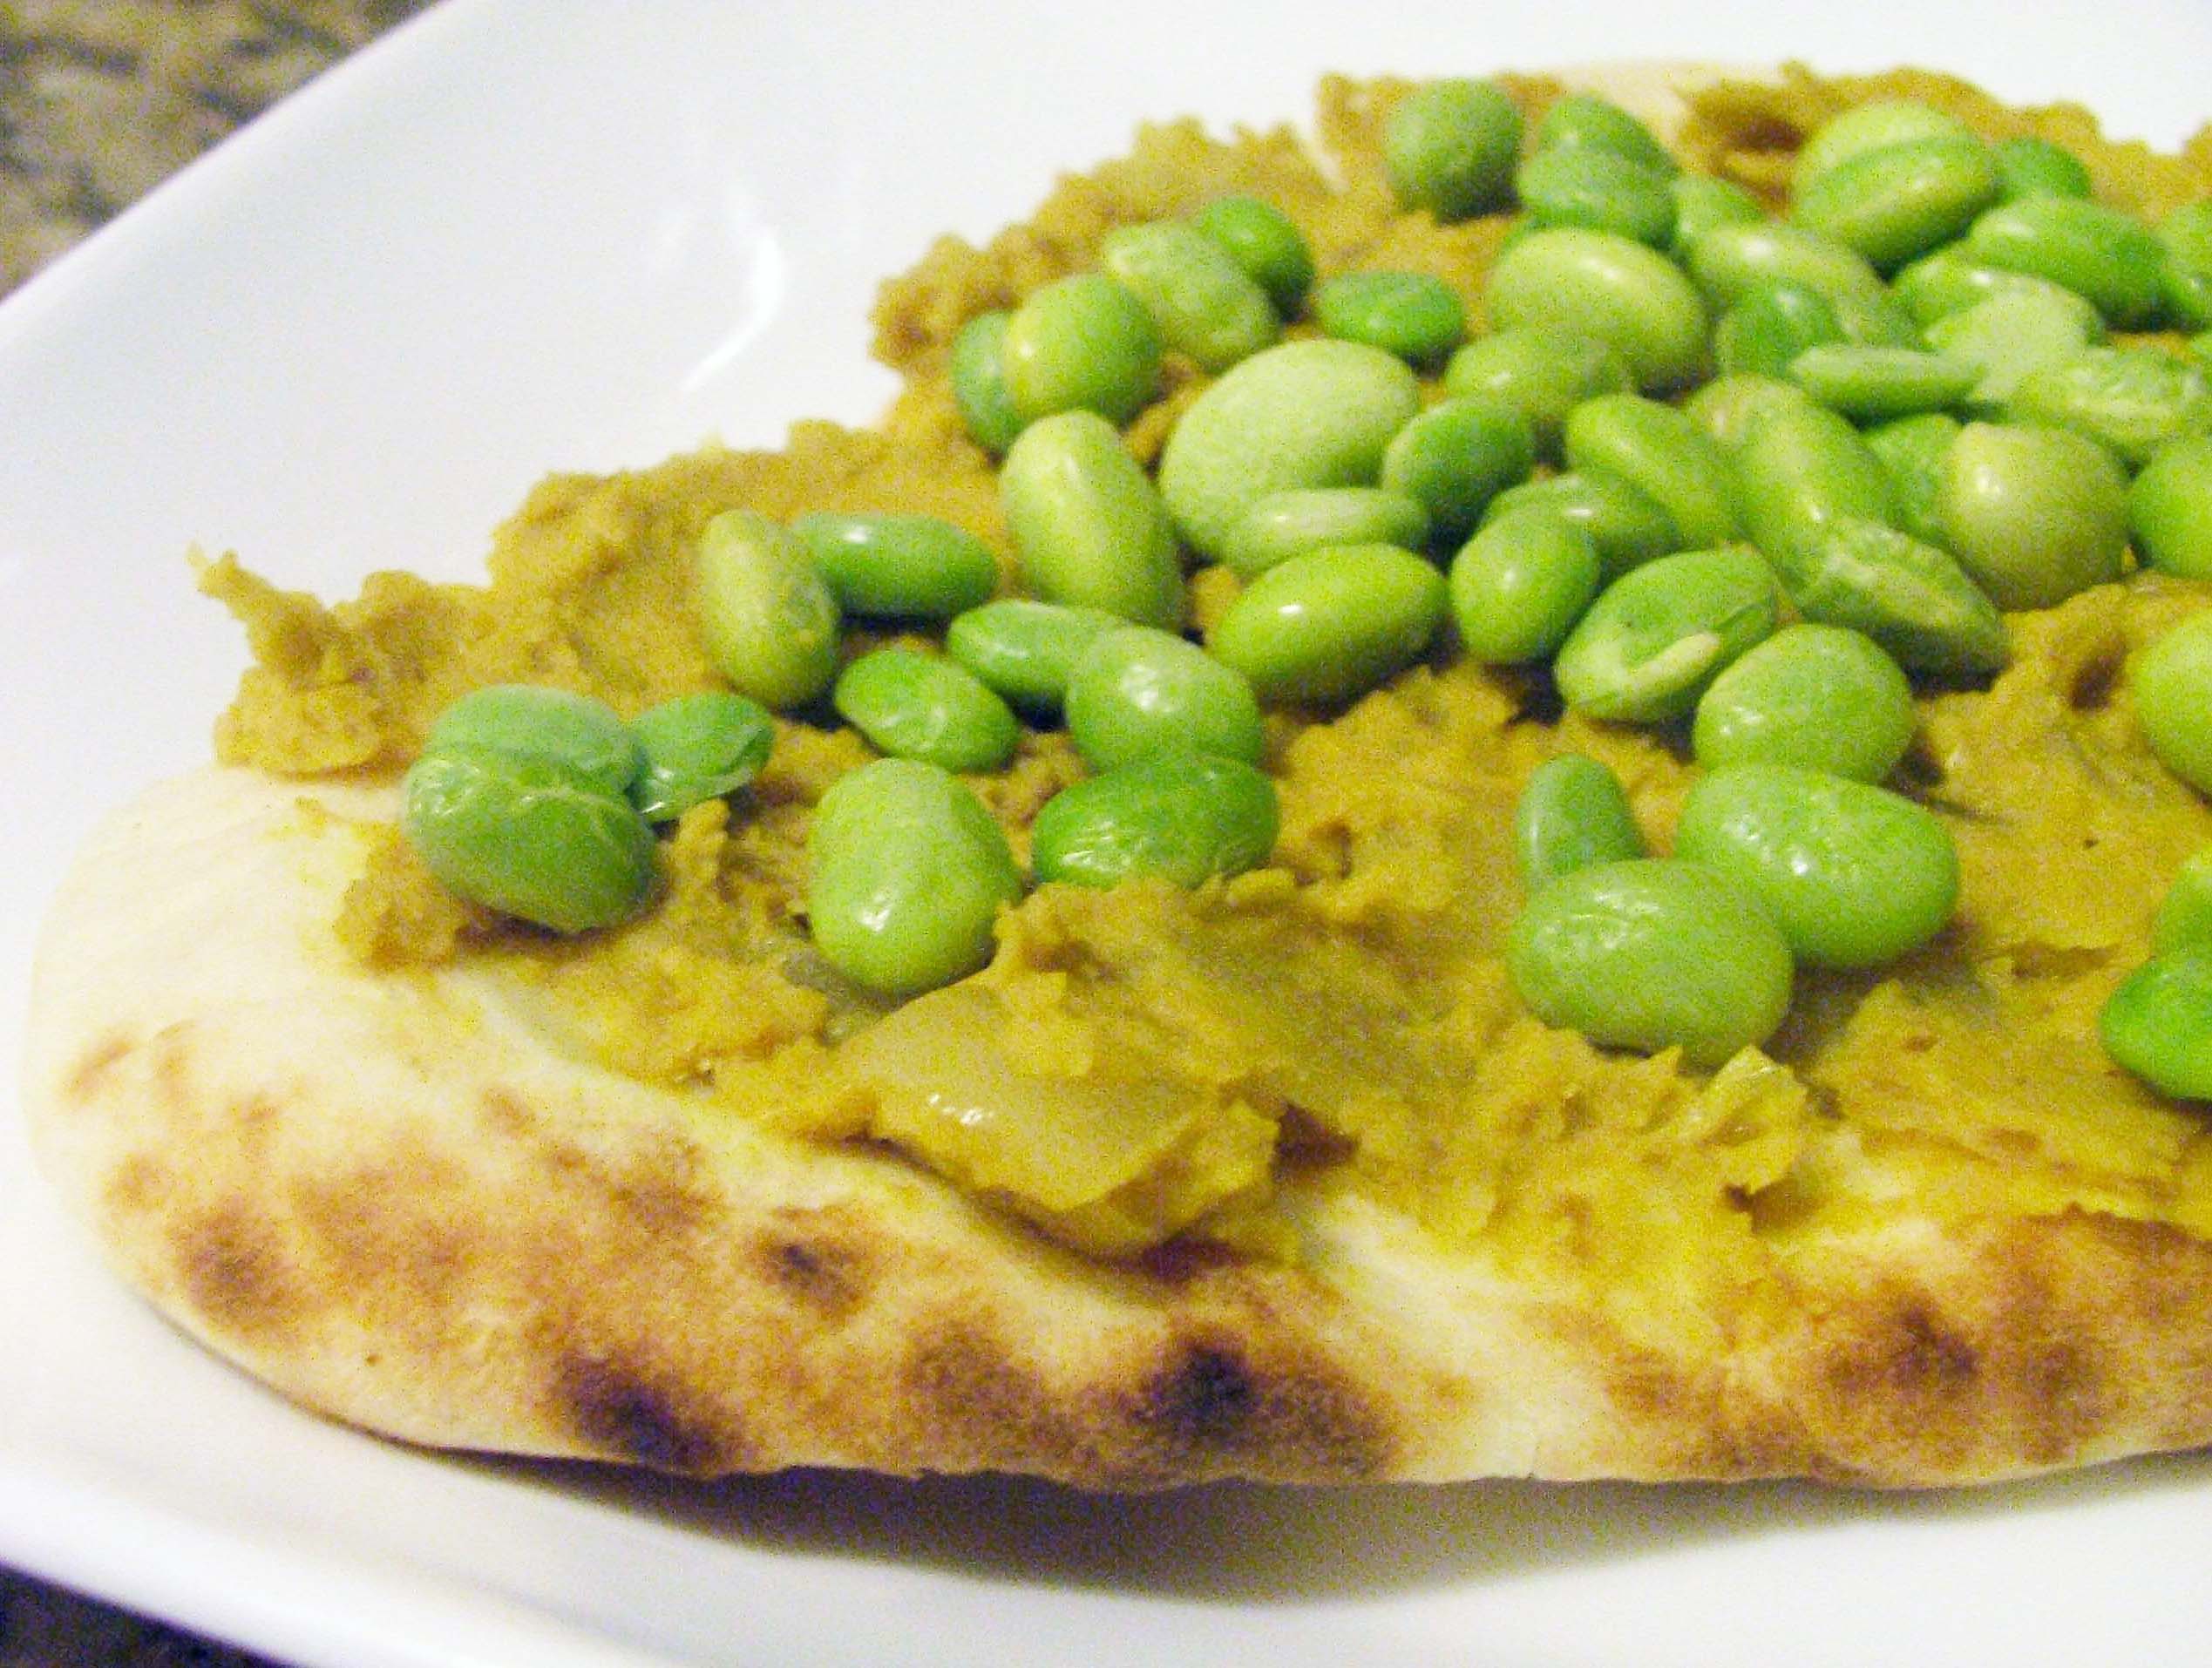
Naan Flatbread with Curried Chickpeas and Edamame

Chicken Sausage Pasta with Broccoli and Sun-Dried Tomatoes

Plantain Crusted Chicken
Toasted Almond and Roasted Red Pepper Pesto Pasta

Avocado Chicken Cakes

Shrimp Fried Rice with Edamame, Corn, and Red Pepper Succotash

Goat Cheese Risotto with Yellow Squash and Zucchini

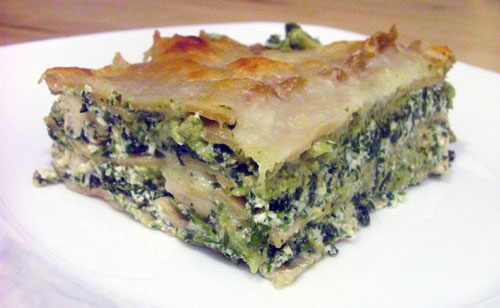
Greek Meatball Lasagna with Roasted Eggplant and Zucchini

Citrus Glazed Salmon
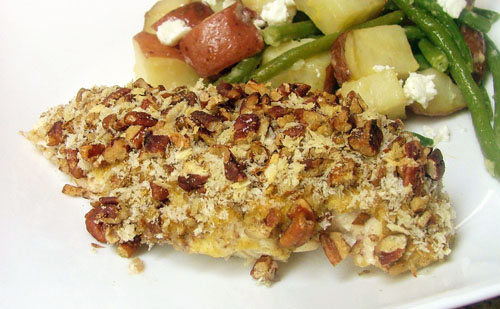
Pecan Crusted Chicken with Lemon and Thyme
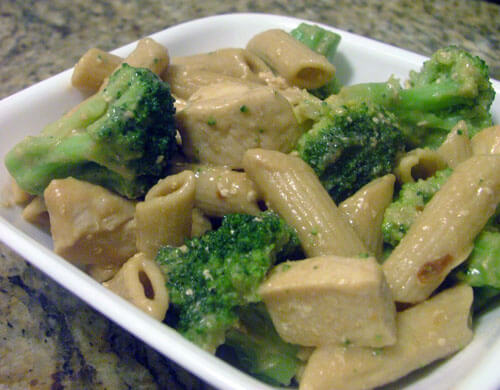
Peanut Sauce Pasta with Chicken and Broccoli

Goat Cheese Pizza with Spinach, Mushrooms, and Tomatoes